
Do you want to add an image gallery to your website? Image gallery gives a better experience for users on the website. You can place a large collection of photos together in an image gallery.
Your visitors will be able to see your service-related images in one place. In this article, we’ll learn about how to add an image gallery to your WordPress website.
Why need of WordPress Image Gallery
Image galleries are used to display the quality of your business’s products and services. By adding an image gallery, your website will become a visually appealing website. If you add an image gallery, it builds trust among the customers for the products and services your company offers.
Most of the users get convinced after seeing the photos that your company’s product or services are suitable for their needs. When you show a stunning image gallery, it tells your customers that you are very expert in your work.
There are a variety of gallery plugins available in the market. Most of them are very popular and work well. The one we’ll use here is FooGallery. It is easy to use, retina-ready, fast, responsive and provides stunning gallery layouts.
FooGallery is a fantastic WordPress image gallery plugin developed by FooPlugins. They provide both free and pro versions of the plugin.
Other popular image gallery plugins are.
- NextGen Gallery
- Envira Gallery
Getting Started:
First, you need to install and activate the plugin FooGallery.
After activating, go to the ‘FooGallery’ menu on the left-hand side. It comes with a free and paid extension which you will find at FooGallery->Extensions.
The image gallery should be displayed in lightbox on the click of each image. In that case, you have to download and activate the FooBox free plugin from the Extensions page.
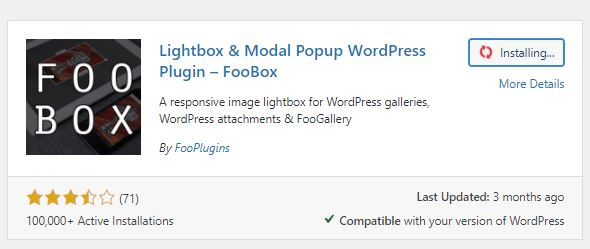
When download is completed, a success message will be displayed with the link for activating the plugin. Click on the link and activate a plugin.

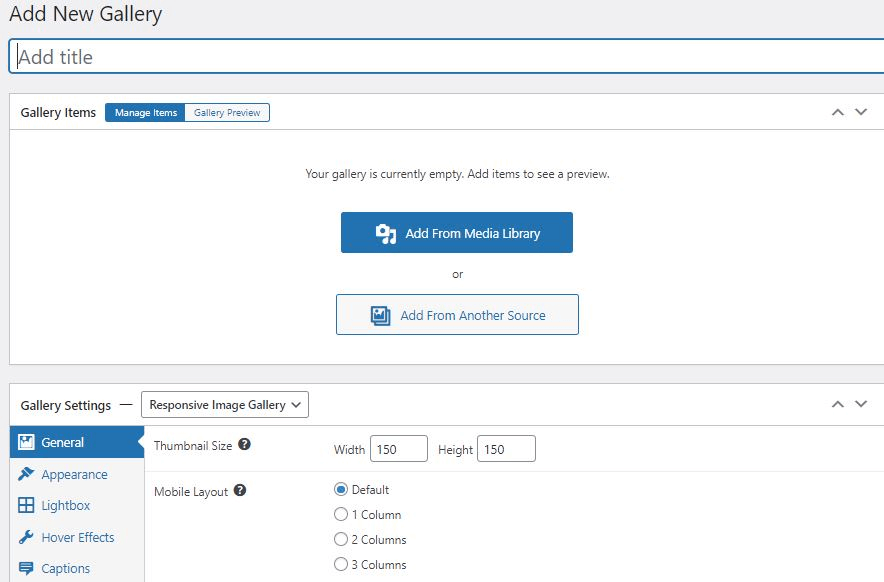
Now, we are ready to add our first gallery. Go to FooGallery->Add Gallery page. Here you will find a lot of options to configure your gallery. You can give them a try. In this tutorial, we’ll show you the basic configuration of the plugin.
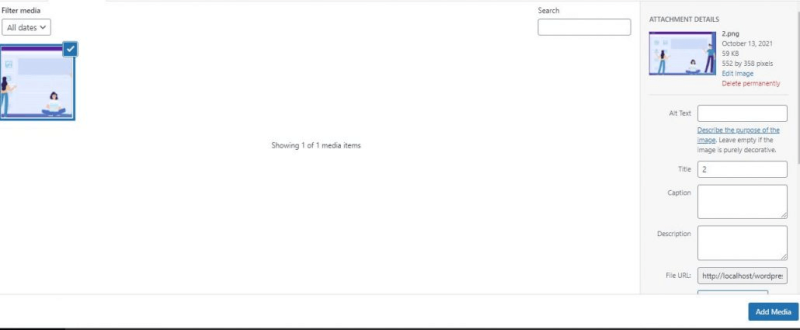
Add a title, media, select Responsive Image Gallery from the drop-down.
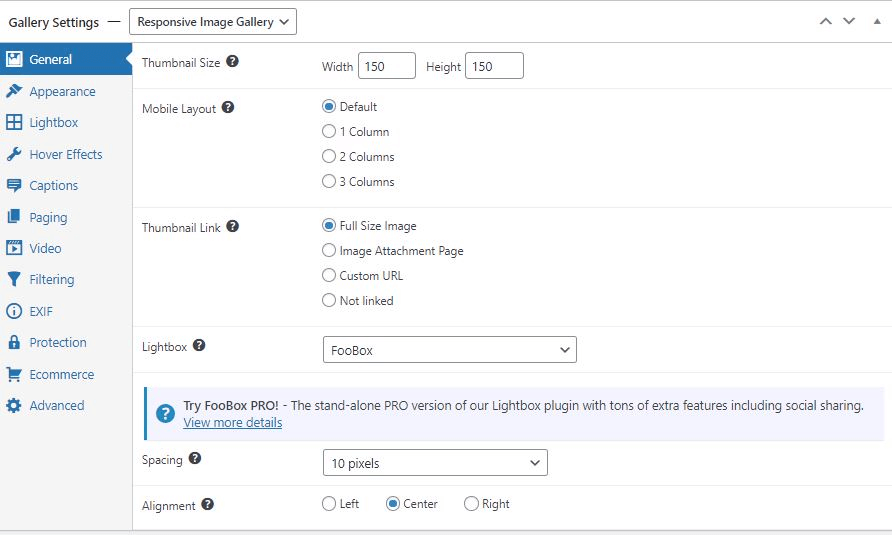
Select Full Size Image(Lightbox) option from Link To. Select FooBox from the Lightbox dropdown.
Save your changes. You will now get the shortcode for the just added gallery.
Display WordPress Image Gallery on a Website
Our WordPress image gallery is created. Now we need to display this gallery on the front-end of our website. Now, go to any page/post where you want to add the gallery. There you will find a new button ‘Add FooGallery’ next to the Add Media button of an editor
Click on this button, a modal window will open. You will get all your added gallery form this modal window.
Choose the preferred one and click the Insert Gallery button.
Save changes to your page/post. When you visit the page your gallery will look like:

If you click on any image, a beautiful lightbox will appear as follows:

I hope this article helped you to understand how to add an image gallery to your website. Try it yourself.