There are many popular sites out there providing two-factor authentication to improve security. You can also add Add Two-Factor Authentication to WordPress.
Two-Factor Authentication is an additional layer of security you can add to your WordPress login pages. By using these additional layers of security it’s impossible for hackers to hijack your WordPress website.
Why to add Two-Factor-Authentication for WordPress login?
We all know that to log in we need an ID and a Password, this is called single-factor authentication. In this, a hacker simply needs to guess the password and can access the website. On the other hand, two-factor authentication protects your website from brute force attacks by reconfirming the user’s identity.
Brute force attack is one of the most common tricks of hackers in which they use automated scripts to guess the right credential and break into a wordpress website. 2-F-A prevents by reassuring a user’s identity upon login.
In this article we will learn how to protect our WordPress website by adding 2FA.
There are several plugins that can help you add 2FA, a list of such plugins is listed below:
How to add Two-Factor-Authentication?
We will be showing you How to add two-factor authentication using WP 2FA :
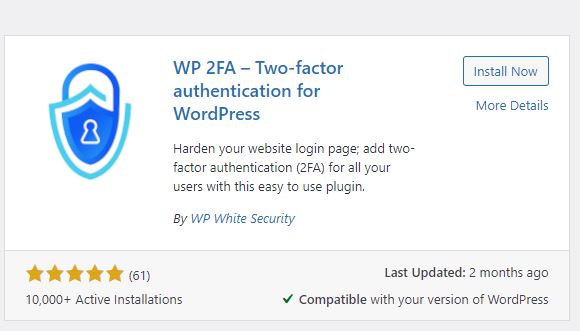
Step 1: First of all you need to install and activate the WP 2FA plugin.
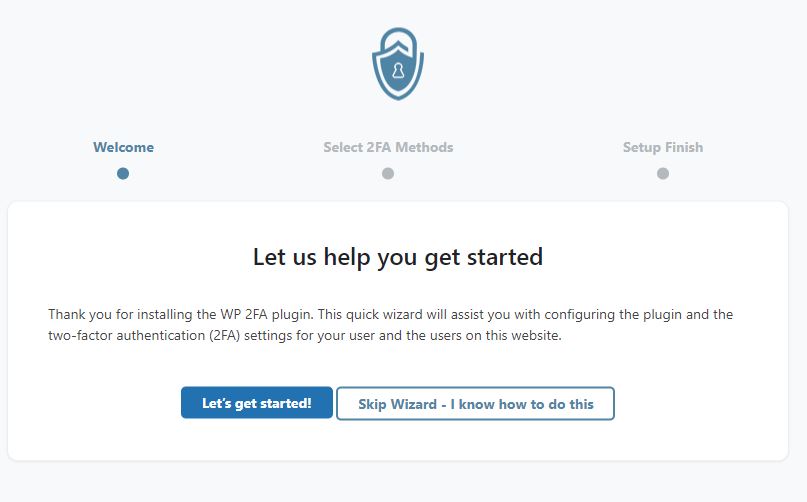
Step 2: After activating the plugin, configure it by following the steps. Now click on “let’s get started!” button to start the process.
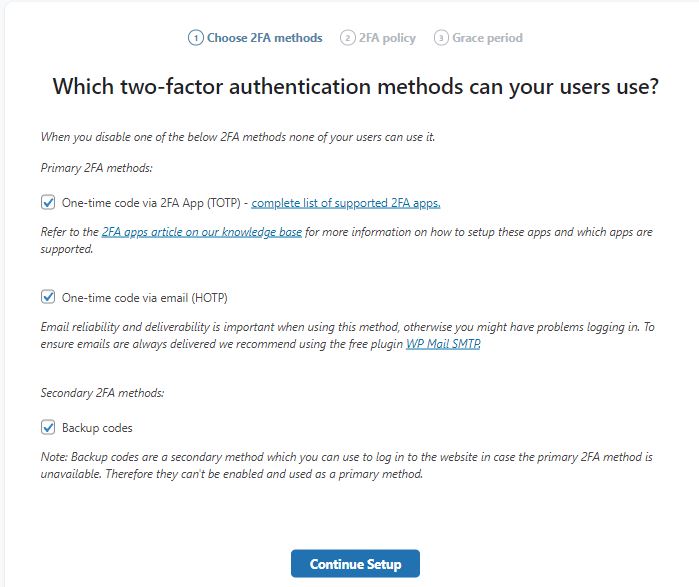
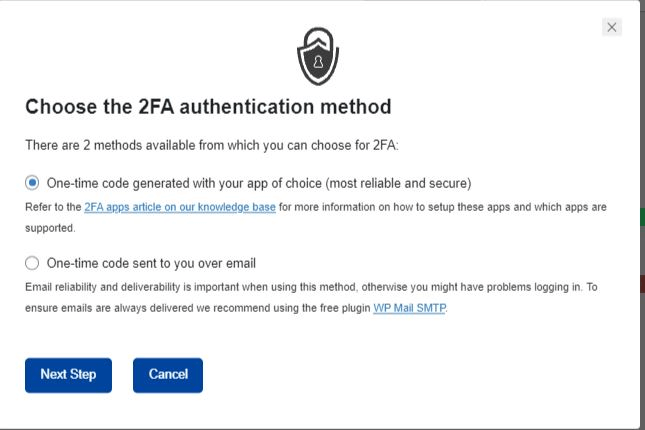
Step 3: Now choose the type of two-factor-authentication you want to activate. Choose the option via 2FA app only if you have access to the phone. Then click on “ Continue Setup”.
Step 4: You can select if you want to enforce 2FA to all,some or none users. In case 2FA is not enforced, users can still choose if they want 2FA but it will not be mandatory.

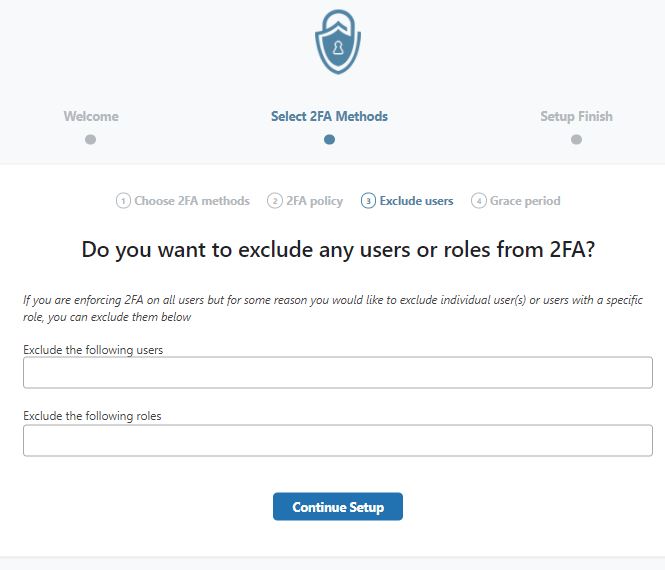
Step 5: You can also exclude individual users or some users with specific roles in this step.
Step 6: Now choose the grace period you want to provide to your user. By default there is a 3day grace period to set up 2FA. You can also extend, remove or reduce it in plugins settings.

Now click “All Done”.
The users for which 2FA is enforced will be prompted to configure 2FA the next time they login. Users will be asked for a one time passwords(OTP) generator, or one time code sent via email.
If a user chooses the “one time code generated by an app” option, they need to scan the key provided by the wizard using the authentication app.
Once completed , click on the “ I am ready button” to finish the process.
Setting up an Authenticator app for your WordPress 2FA:
There are many apps like Google authenticator that generate temporary one-time passwords for the accounts that you save in it for free.
Download and install Google Authenticator on your smartphone. Now launch the app on your phone.
Click on add a new website and select scan a QR code to scan the code. It will now save your website account, and show a OTP that you use to login.
Enter this password/authentication code in the window that opens when you click the “I am Ready” button in the above step. Select validate and save the configuration .

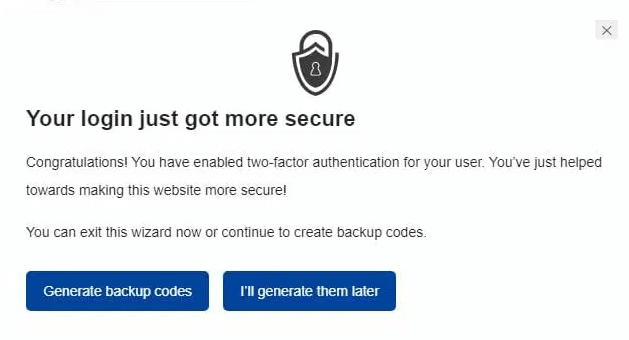
You can also create backup codes in case you cannot access your phone you can simply use them. You can print them and keep them somewhere safe.
Final Result:
Next time you try to login to your WordPress website, after typing the user credentials you will be asked by the OTP to login. Simply launch the google authentication app and type in the code.